
How to Install a Pall Ultipleat High Flow Filter Cartridge Like a Pro
Step-by-step Guide on Installing a Pall Ultipleat High Flow Filter Cartridge
Installing a Pall Ultipleat High Flow Filter Cartridge may seem like a daunting task, but with the right guidance, you can easily complete the installation like a pro. This step-by-step guide will walk you through the process, ensuring that you achieve optimal performance from your filter cartridge.
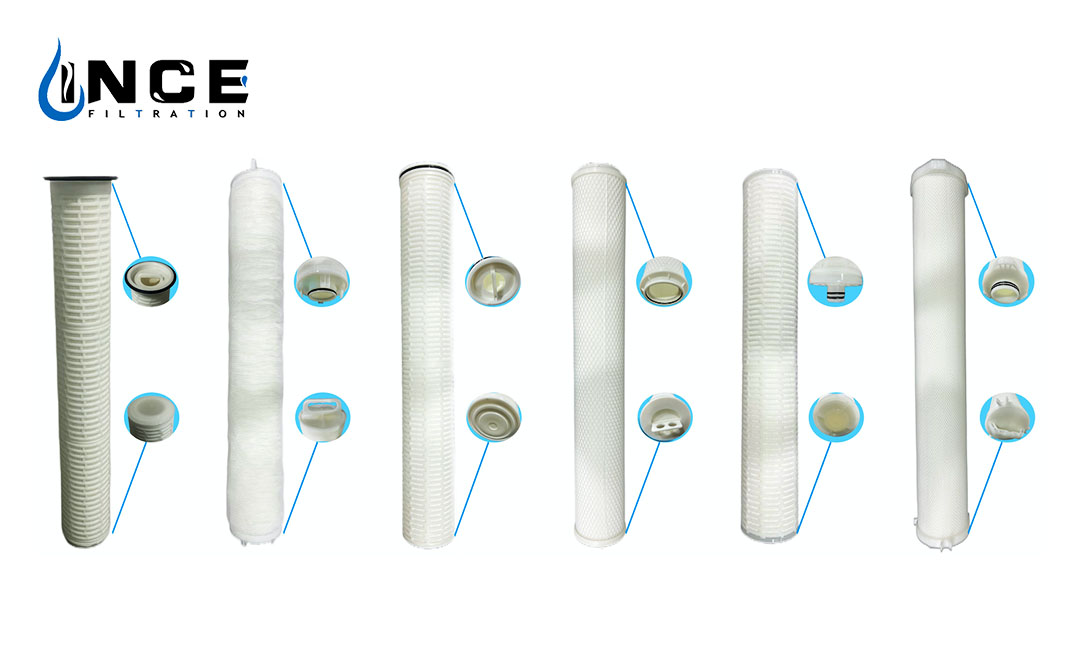
To begin, gather all the necessary tools and equipment for the installation. You will need a filter housing, a Pall Ultipleat High Flow Filter Cartridge, a wrench, and any other tools specified in the manufacturer’s instructions. Make sure to read the instructions carefully before starting the installation process.
The first step is to prepare the filter housing. Ensure that the housing is clean and free of any debris or contaminants. Inspect the O-rings and gaskets for any signs of wear or damage, and replace them if necessary. Lubricate the O-rings with silicone grease to ensure a proper seal.
Next, carefully remove the old filter cartridge from the housing. Dispose of the old cartridge properly according to local regulations. Inspect the housing for any signs of damage or corrosion, and make any necessary repairs before proceeding.
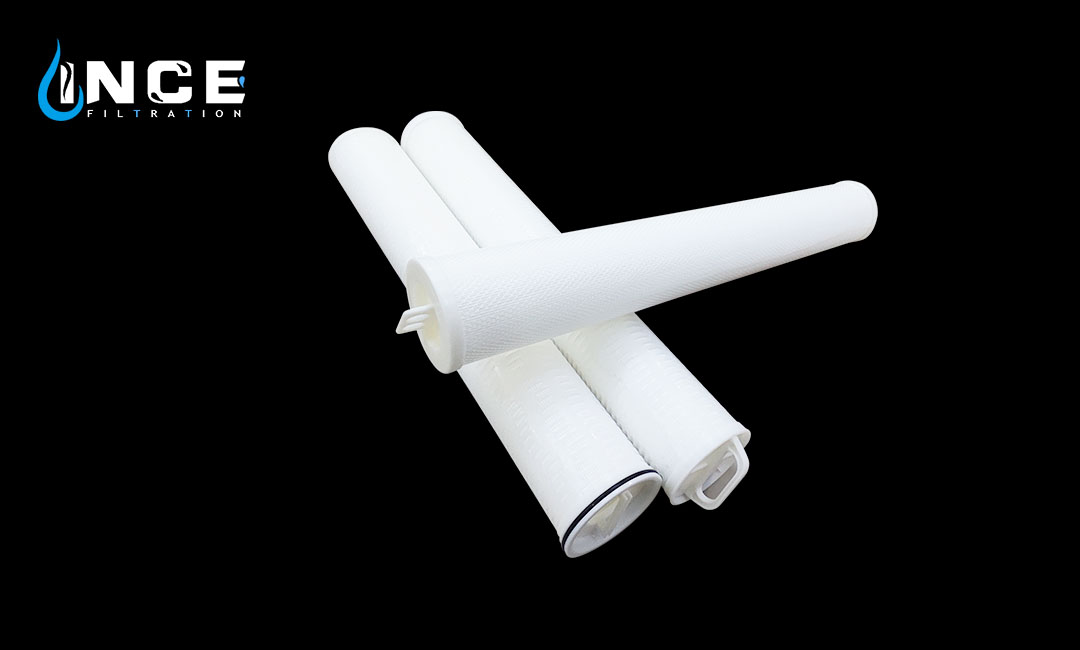
Now, it’s time to install the new Pall Ultipleat High Flow Filter Cartridge. Carefully insert the cartridge into the housing, making sure that it is properly aligned and seated. Use a wrench to tighten the cartridge into place, ensuring a secure fit.
Once the cartridge is securely installed, it’s time to prime the filter. Follow the manufacturer’s instructions for priming the filter, which may involve filling the housing with water and allowing it to flow through the cartridge to remove any air bubbles.
After priming the filter, check for any leaks or drips around the housing. Tighten any connections as needed to ensure a proper seal. Once you have confirmed that the filter is properly installed and sealed, you can start using it to filter your water or other fluids.
Regular maintenance is key to ensuring the optimal performance of your Pall Ultipleat High Flow Filter Cartridge. Follow the manufacturer’s recommendations for replacing the cartridge at regular intervals, and monitor the filter for any signs of clogging or reduced flow rate.
In conclusion, installing a Pall Ultipleat High Flow Filter Cartridge is a straightforward process that can be completed with the right tools and guidance. By following this step-by-step guide, you can ensure that your filter cartridge is properly installed and functioning at its best. Remember to follow the manufacturer’s instructions and perform regular maintenance to keep your filter in top condition. With proper installation and maintenance, your Pall Ultipleat High Flow Filter Cartridge will provide you with clean, filtered water or fluids for years to come.