Step-by-Step Guide to Replacing High Flow Pleated Filter Cartridges
Benefits of High Flow Pleated Filter Cartridges
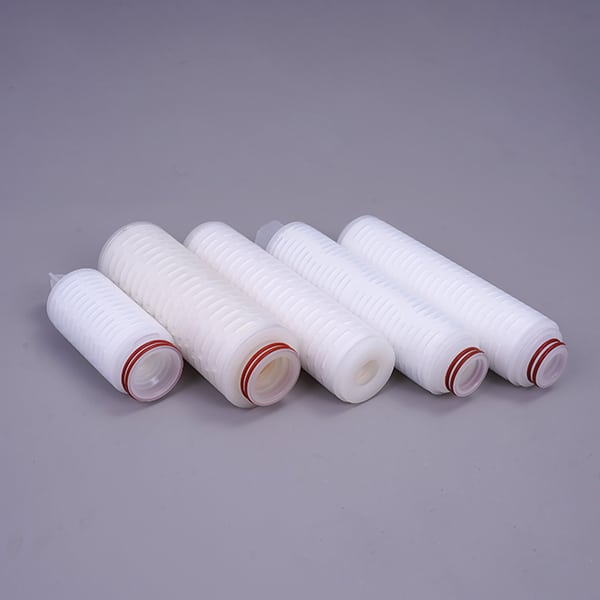
High flow pleated filter cartridges are an essential component in many industrial and commercial filtration systems. These cartridges are designed to handle high flow rates while effectively removing contaminants from liquids. They offer numerous benefits, including improved filtration efficiency, longer service life, and reduced maintenance costs.
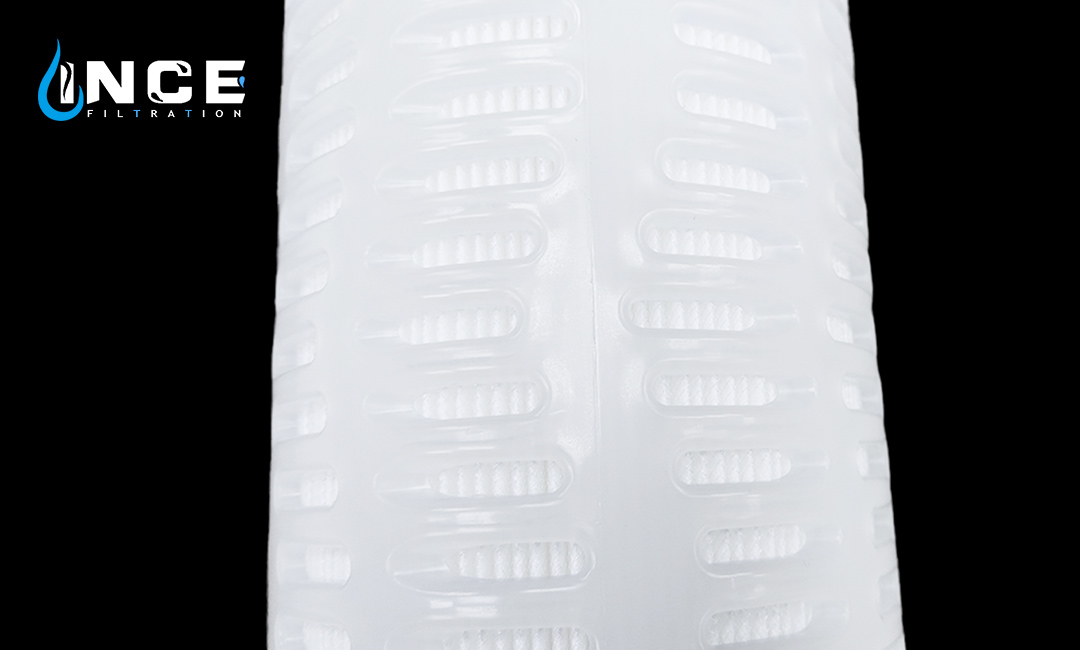
One of the key advantages of high flow pleated filter cartridges is their superior filtration efficiency. These cartridges are constructed with a large surface area, allowing them to capture more particles and contaminants than traditional filter cartridges. This results in cleaner, purer liquids and improved overall system performance.
In addition to their superior filtration efficiency, high flow pleated filter cartridges also have a longer service life compared to standard filter cartridges. The pleated design of these cartridges allows for greater dirt-holding capacity, meaning they can operate for longer periods before needing to be replaced. This not only reduces downtime for maintenance but also helps to lower overall operating costs.
Another benefit of high flow pleated filter cartridges is their ease of installation and replacement. These cartridges are designed to be easily installed and removed from filtration systems, making maintenance quick and hassle-free. With proper care and maintenance, high flow pleated filter cartridges can provide reliable filtration for an extended period, ensuring consistent performance for your system.
To replace high flow pleated filter cartridges, follow these simple steps:
1. Turn off the filtration system and disconnect any power sources to ensure safety during the replacement process.
2. Remove the housing or filter housing cover to access the filter cartridge. Depending on the system, this may require the use of tools such as a wrench or screwdriver.
3. Carefully remove the old filter cartridge from the housing, taking care not to spill any contaminants that may be trapped inside.
4. Inspect the housing for any signs of damage or wear and clean it thoroughly before installing the new filter cartridge.
5. Install the new high flow pleated filter cartridge into the housing, ensuring it is properly seated and secured in place.
6. Replace the housing cover and tighten any fasteners to secure the cartridge in place.
7. Turn on the filtration system and check for any leaks or abnormalities in system performance. Monitor the system for a few hours to ensure proper operation of the new filter cartridge.
By following these simple steps, you can easily replace high flow pleated filter cartridges in your filtration system, ensuring continued efficiency and performance. Remember to regularly inspect and replace filter cartridges as needed to maintain optimal filtration and system operation.

In conclusion, high flow pleated filter cartridges offer numerous benefits for industrial and commercial filtration systems, including improved filtration efficiency, longer service life, and ease of installation and replacement. By following a step-by-step guide to replacing these cartridges, you can ensure the continued performance and reliability of your filtration system.
Choosing the Right High Flow Pleated Filter Cartridge
High flow pleated filter cartridges are essential components in many industrial and commercial filtration systems. These filters are designed to handle high flow rates while effectively removing contaminants from liquids. Over time, these filter cartridges will need to be replaced to ensure optimal performance of the filtration system. In this article, we will provide a step-by-step guide on how to replace high flow pleated filter cartridges.
The first step in replacing high flow pleated filter cartridges is to choose the right replacement cartridge for your specific filtration system. It is important to select a cartridge that is compatible with your system and meets the filtration requirements for your application. Consider factors such as flow rate, micron rating, and material compatibility when selecting a replacement cartridge.
Once you have selected the appropriate replacement cartridge, the next step is to shut off the flow of liquid to the filtration system. This will prevent any leaks or spills during the cartridge replacement process. Depending on the design of your filtration system, you may need to close valves or disconnect hoses to stop the flow of liquid.
After shutting off the flow of liquid, the next step is to remove the housing or cover of the filtration system to access the filter cartridge. Carefully follow the manufacturer’s instructions for removing the housing to avoid damaging any components of the system. Once the housing is removed, you will be able to see the filter cartridge inside.

Before removing the old filter cartridge, it is important to drain any remaining liquid from the system to prevent spills. Use a bucket or container to catch the liquid as you remove the cartridge. Once the liquid has been drained, carefully remove the old filter cartridge from the housing. Be sure to dispose of the old cartridge properly according to local regulations.
With the old filter cartridge removed, it is time to install the new replacement cartridge. Carefully insert the new cartridge into the housing, making sure it is properly seated and aligned. Follow the manufacturer’s instructions for installing the cartridge to ensure a proper fit.
After installing the new filter cartridge, replace the housing or cover of the filtration system. Make sure the housing is securely fastened to prevent any leaks or spills. Once the housing is in place, you can turn the flow of liquid back on to resume normal operation of the filtration system.
Finally, it is important to monitor the performance of the new filter cartridge to ensure it is effectively removing contaminants from the liquid. Keep an eye on pressure gauges or flow meters to ensure the system is operating within normal parameters. If you notice any issues with the filtration system, such as decreased flow rates or increased pressure, it may be necessary to replace the filter cartridge again.
In conclusion, replacing high flow pleated filter cartridges is a straightforward process that can help maintain the performance of your filtration system. By following the steps outlined in this guide, you can ensure a smooth and successful cartridge replacement. Remember to choose the right replacement cartridge, shut off the flow of liquid, remove the old cartridge, install the new cartridge, and monitor the performance of the system. With proper maintenance and care, your filtration system will continue to operate efficiently and effectively.
Step-by-Step Guide to Replacing High Flow Pleated Filter Cartridges
High flow pleated filter cartridges are an essential component of many industrial filtration systems. Over time, these cartridges can become clogged with dirt, debris, and other contaminants, reducing their effectiveness and potentially causing damage to the system. Replacing high flow pleated filter cartridges is a relatively simple process that can be done by following a few easy steps.
The first step in replacing high flow pleated filter cartridges is to shut off the system and relieve any pressure that may be present. This can usually be done by turning a valve or switch located near the filter housing. Once the system is safely depressurized, you can begin the process of removing the old filter cartridge.
Next, carefully remove the filter housing cover to access the old filter cartridge. Depending on the design of the system, the cartridge may be held in place by a clamp, screw, or other fastening mechanism. Carefully loosen and remove any fasteners holding the cartridge in place, taking care not to damage the housing or any other components.
With the old filter cartridge removed, take a moment to inspect the housing for any signs of damage or wear. If necessary, clean the housing with a mild detergent and water to remove any built-up dirt or debris. This will help ensure a proper seal when installing the new filter cartridge.
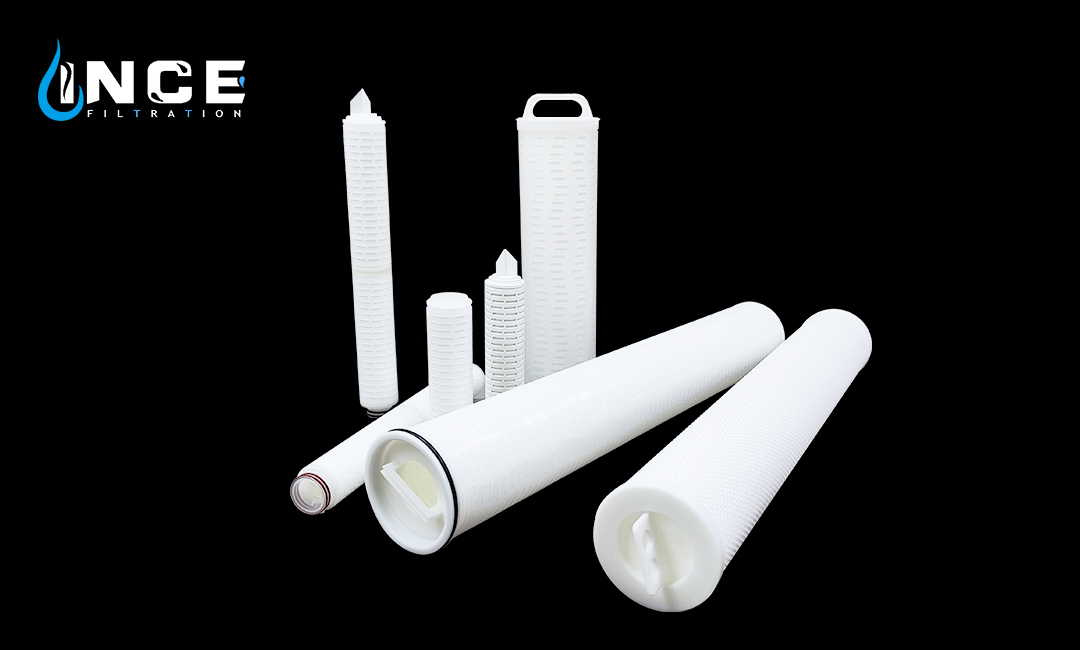
Before installing the new filter cartridge, it is important to check that it is the correct size and type for your system. High flow pleated filter cartridges come in a variety of sizes and configurations, so be sure to match the new cartridge to the specifications of the old one.
Carefully insert the new filter cartridge into the housing, making sure that it is properly seated and aligned. Depending on the design of the system, you may need to use a clamp or other fastening mechanism to secure the cartridge in place. Once the new cartridge is securely installed, replace the housing cover and tighten any fasteners to ensure a proper seal.
Finally, turn the system back on and check for any leaks or other issues. Allow the system to run for a few minutes to ensure that the new filter cartridge is working properly and that water flow is not restricted. If everything looks good, you can rest assured that your high flow pleated filter cartridge has been successfully replaced.
In conclusion, replacing high flow pleated filter cartridges is a straightforward process that can help maintain the efficiency and longevity of your industrial filtration system. By following these simple steps, you can ensure that your system continues to operate at peak performance and provide clean, filtered water for your facility. Remember to always follow the manufacturer’s instructions and guidelines when replacing filter cartridges to ensure proper installation and operation.
Maintenance Tips for High Flow Pleated Filter Cartridges
High flow pleated filter cartridges are an essential component of many industrial filtration systems. Over time, these cartridges can become clogged with dirt, debris, and other contaminants, reducing their effectiveness and potentially causing damage to the filtration system. Replacing high flow pleated filter cartridges is a relatively simple process that can be done by following a few easy steps.
The first step in replacing high flow pleated filter cartridges is to shut off the filtration system and relieve any pressure in the system. This can usually be done by turning off the power to the system and opening any valves or vents that may be present. It is important to follow proper safety procedures when working with filtration systems to avoid injury or damage to the system.
Once the system has been shut off and the pressure relieved, the next step is to remove the old filter cartridge from the housing. This can usually be done by unscrewing the housing and carefully pulling out the old cartridge. It is important to handle the old cartridge with care to avoid spilling any contaminants that may be trapped inside.
After the old filter cartridge has been removed, the next step is to clean the housing and any other components of the filtration system that may have become dirty or contaminated. This can usually be done using a mild detergent and water, followed by a thorough rinse to remove any residue. It is important to ensure that all components are completely dry before proceeding to the next step.
Once the housing and other components have been cleaned and dried, the next step is to install the new filter cartridge. This can usually be done by carefully inserting the new cartridge into the housing and ensuring that it is properly seated and secured. It is important to follow the manufacturer’s instructions when installing a new filter cartridge to ensure proper operation of the filtration system.
After the new filter cartridge has been installed, the next step is to close the housing and repressurize the system. This can usually be done by closing any valves or vents that were opened earlier and turning the power back on to the system. It is important to check for any leaks or other issues that may arise during this process to ensure that the system is functioning properly.
Once the system has been repressurized and is functioning properly, the final step is to dispose of the old filter cartridge in accordance with local regulations. This may involve recycling the cartridge or disposing of it in a designated waste disposal facility. It is important to follow proper procedures when disposing of old filter cartridges to avoid environmental contamination.
In conclusion, replacing high flow pleated filter cartridges is a simple process that can be done by following a few easy steps. By shutting off the system, removing the old cartridge, cleaning the housing, installing the new cartridge, and repressurizing the system, you can ensure that your filtration system continues to operate effectively and efficiently. By following these steps and proper safety procedures, you can maintain the performance of your filtration system and avoid costly repairs or replacements in the future.


